NExT LAB
Introduction to 3D Printing
NExT Lab Knowledge Base
The NExT Lab KB is a space where students and staff can find information, guides and other resources. Access it at: https://msd-makerspaces.gitbook.io/next-lab/
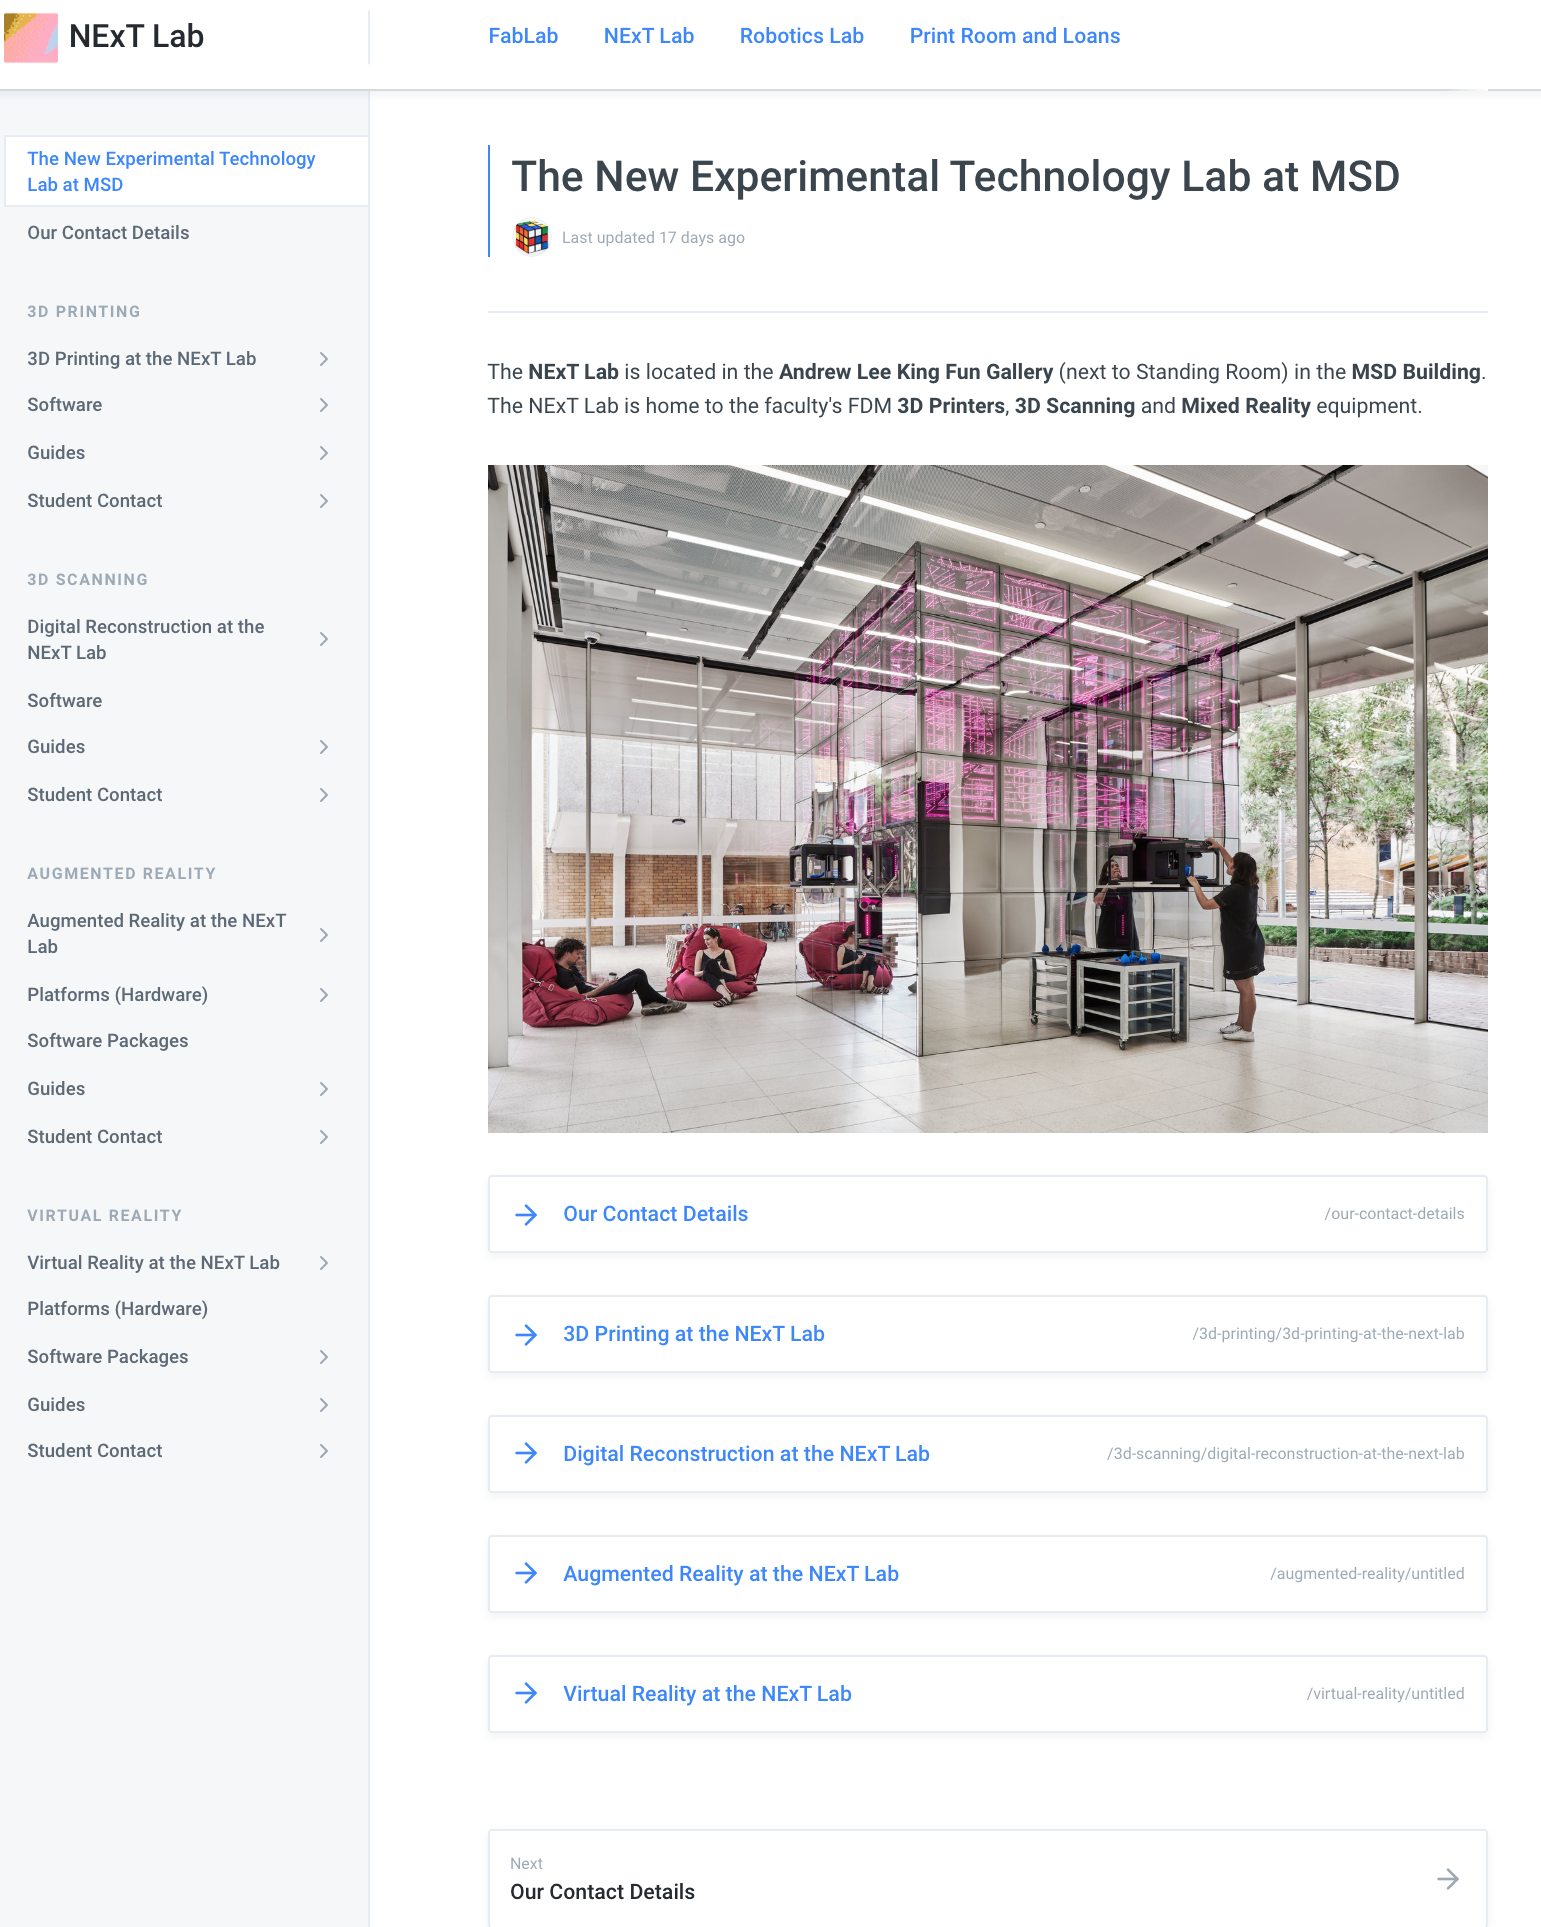
Makerbot Replicators
The NExT Lab is home to 29 Makerbot Replicator +'s and 2 Makerbot Z18's.
- Build Size295mm X 195mm X 165mm H
- Build Size300mm X 305mm x 457mm H
Makerbot Replicator +
Makerbot Replicator Z18
The 3D Printing Process
-
01. Prepare 3D Model
- Use Rhino or a similar software to create a closed, good mesh.
- Export your mesh as a binary stl file.
-
02. Check your Model
- Check to make sure your model is closed and contains no naked edges.
-
03. Slice your Model
- Use Makerbot Print to generate rafts, supports and a print path.
-
04. Submit your Request
- Start a new Request on the MSD Innovation Centre
- Add files to your request using the correct naming convention
- Submit your Request
- Check your emails for updates!
Preparing a model for 3d print
Working with polysurfaces and meshes
Here will we construct a polysurface for printing. We will then construct a mesh from those surfaces and perform some preliminary checks for our model.
Software we use: Rhino 3D
WARNING: Meshes from Sketchup or online sources such as Thingiverse usually need a lot of work
Checking your Mesh
Helpful Commands
-
ThicknessAnalysisCreates a gradient overlay which displays mesh thickness. Remember your mesh should be at least 2mm thick.
-
CheckReturns 'Good Mesh' or 'Bad Mesh'. Remember that for an object to be 3d printable, it needs to be closed with no naked edges.
-
MeshRepairOpens the Mesh Repair Panel. Follow the steps to try to obtain either a good mesh, or a closed mesh with no naked edges.
Checking your Mesh
Going Further: Helpful Tools
Checking your Mesh
Going Further: Helpful Tools
-
Change Viewport SettingsMake sure you colour back-faces and naked edges to help you identify problems with your meshes.
-
ConsultationsConsultations are an opportunity for us to diagnose some issues you might be having, but in a lot of cases there isnt much we can do to fix your file all together.
Prevention is better than a cure
Most mesh problems occur from trying to mesh intersection or poorly constructed/booleaned geometries. Be sure to save your project at various stages or use parametric tools to ensure that if your mesh is too far gone, you are still able to work with your polysurfaces.
Supports and Rafts
Support Material needs to be generated under horizontal overhanging elements because FDM printers need a surface to print on.
Orientation
There are two main things to consider when orienting your 3d print on a bed. 1. Hole Orientation: Holes will be filled with support material if their profile is perpendicular to the bed; 2. Build Direction: Better resolution is achieved along the z-axis, but also, less strength.
Shells
Shells are the outer surfaces of your solid. The greater number of shells, the stronger a part will be, but it will increase weight and print time.
Infill
Infill is necessary to support the shell during printing and service. The greater the density of infill, the stronger the part will be, but it will increase weight and print time.
Custom Settings
Available for download here
We've made some foolproof custom settings that create strong and reliable prints.
- Infill Pattern: Diamond (Fast)
- Infill Density: 10%
- Layer Height: 0.2mm
- Number of Shells: 2
- Support Angle: 30°
- Support Density: 10%
- Raft Size: 4mm
$
Calculating Cost.
$0.15 per gram for PLA prints.
We charge $0.15 per gram (PLA) and $0.30 per gram (Tough PLA) for both faculty and students.
This is the retail price for the material.
We have a minimum charge of $10.00 per request
You can access our cost calculator here.
The Submission Process
-
01. Submit a Request
- Submit a request to the Innovation Centre using the correct naming conventions
-
02. Request Approval
- You will receive an email once your request has been approved. This can take up to a week during extremely busy periods.
-
03. Printing
- Your Request will be sent to the Makerbot printers. This can take up to a week during extremely busy periods.
-
04. Collection
- You will be notified when your job is completed and ready for collection at the NExT LAB. Collection hours are 10-4, Mon to Fri.
Submission Particulars
Make sure you check the landing page of the Innovation Centre for any updates to queue length and requirements on our end.
Your requests need to follow these naming conventions:
- Request Name: eg.
TrueWhite_10h_Rep+_StudioAir - Job Name: eg.
5h_1of2_StudioAir.makerbot - Updated Job Name: eg.
4h_1of2_StudioAirUPDATED.makerbot - Other Notes: Unfortunately we can only process one colour per request.
NExT Lab Criteria
The following criteria allow for fair use of NExT Lab services
TIME: There is an 8 hour restriction per request per student. Anything over this requires a consultation. SUBMISSION: Only submit 1 request per project. Multiple jobs can be added to a request. SUPPORTS & RAFTS: Must be enabled in your print settings. If you wish to print without these elements you will need to book a consultation. SETTINGS: You can download a range of suitable settings from the NExT Lab Knowledge Base. FILE TYPES: You are required to upload 3 file types. .stl, .makerbot and .print.
So you've submitted a job, now what?
Now we wait.
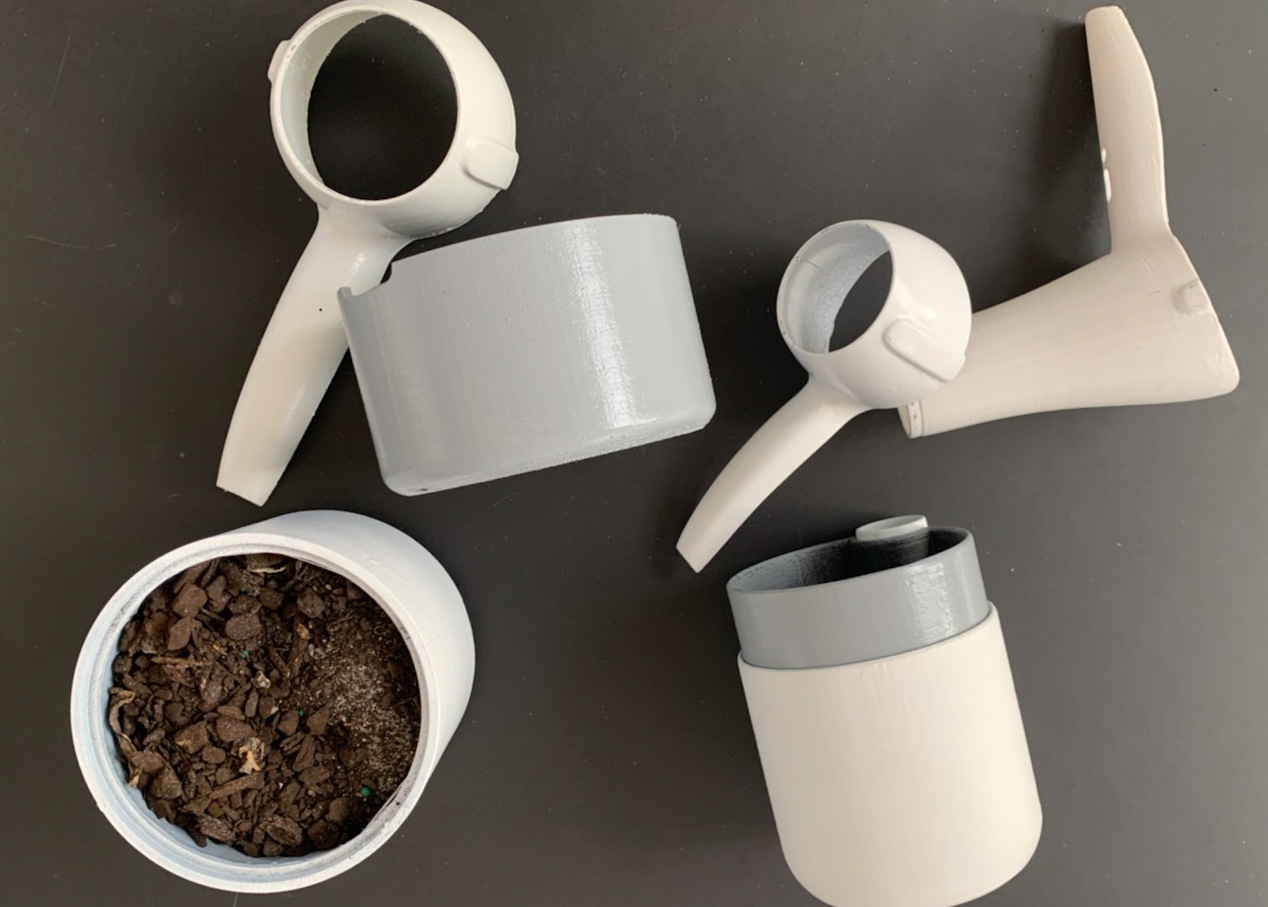
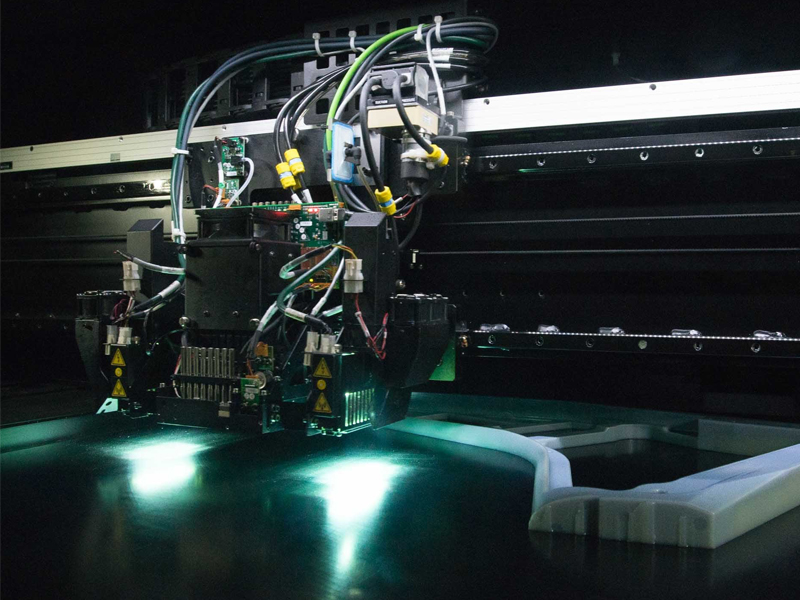
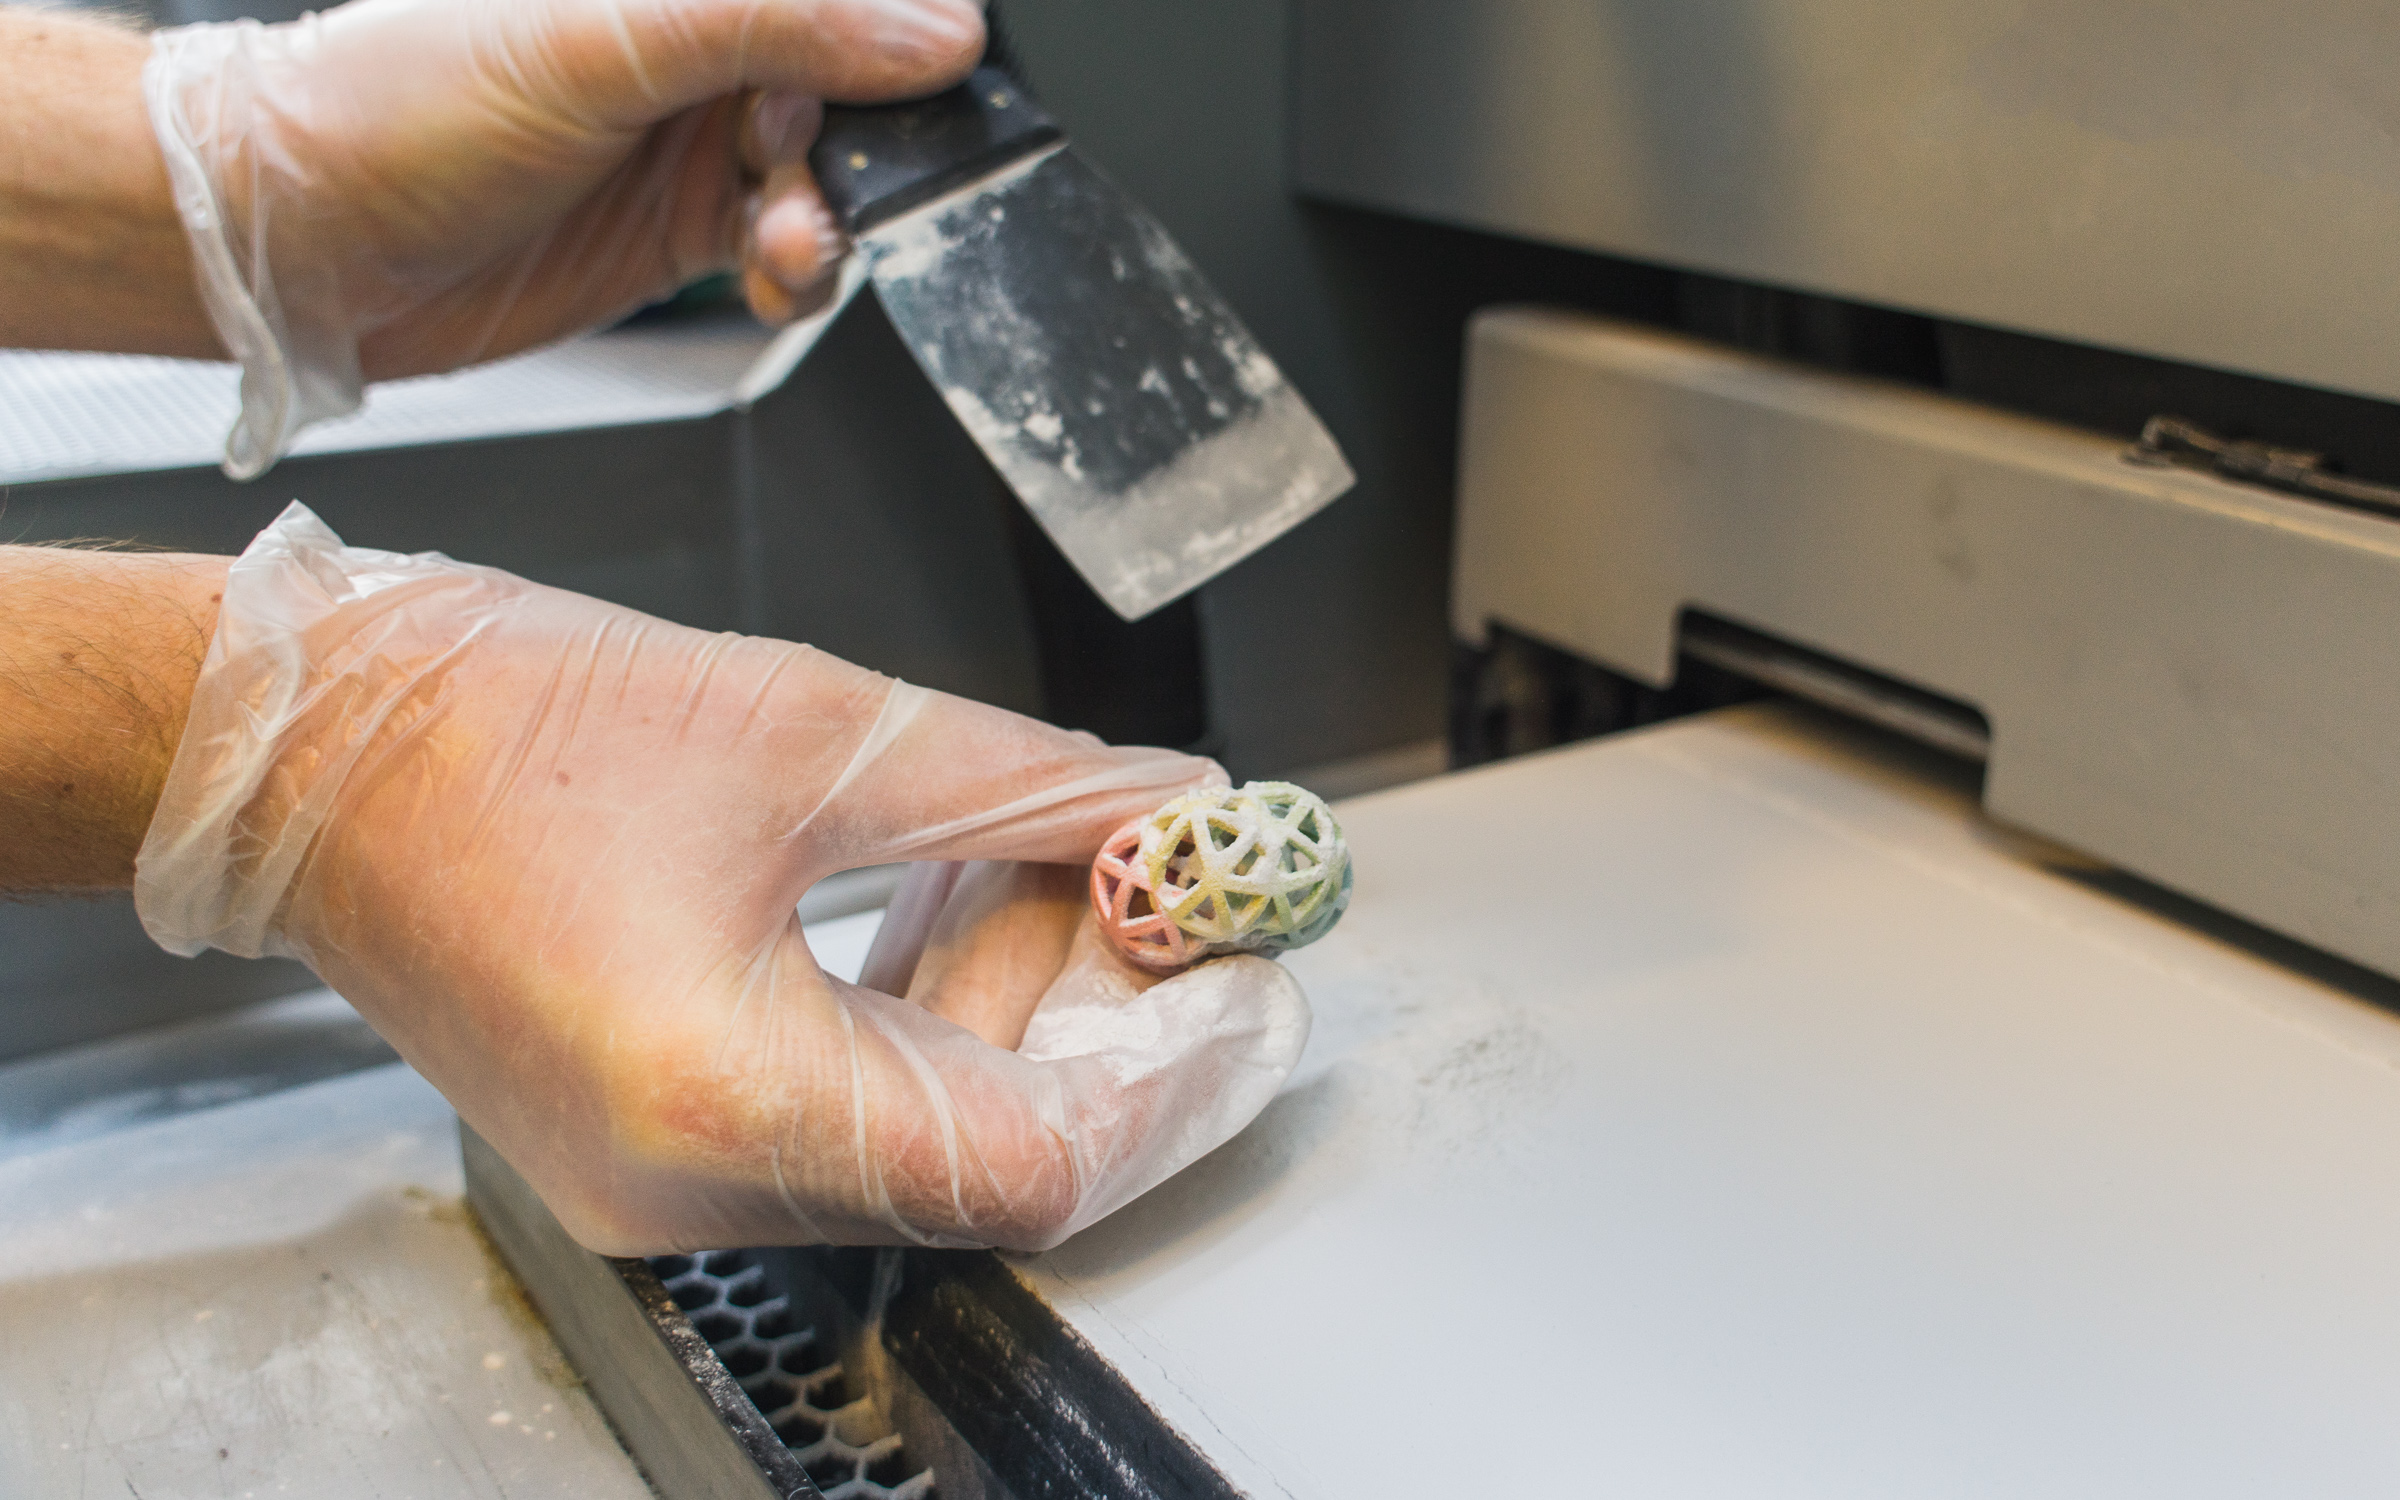
Powder (Binder Jetting)
3d Printing at the FabLab
Binder Jetting is the process of dispensing a binding agent onto a powder bed.
- Printer: Projet 660 Pro
- Print Area (mm): 254 x 381 x 203
- Cost: $0.60 per cm3
Powder (Binder Jetting)
3d Printing at the FabLab
Layers are bonded to one another to form a solid component. Loose support material is removed at the lab and the part is coated in an epoxy solution for extra strength. Powder prints offer better resolution, and aren't subject to shrinkage or warping.
Post-Processing
Check out the info on the Knowledge Base
PLA parts can be finished in a variety of methods. These processes range from being quick and easy to extremely involved and time-consuming. On campus, you can only sand in the Fabrication Workshop (not the Model-Making Space).